Matrix = Light, Color, Motion, Chaos
Never the same, always fantastic
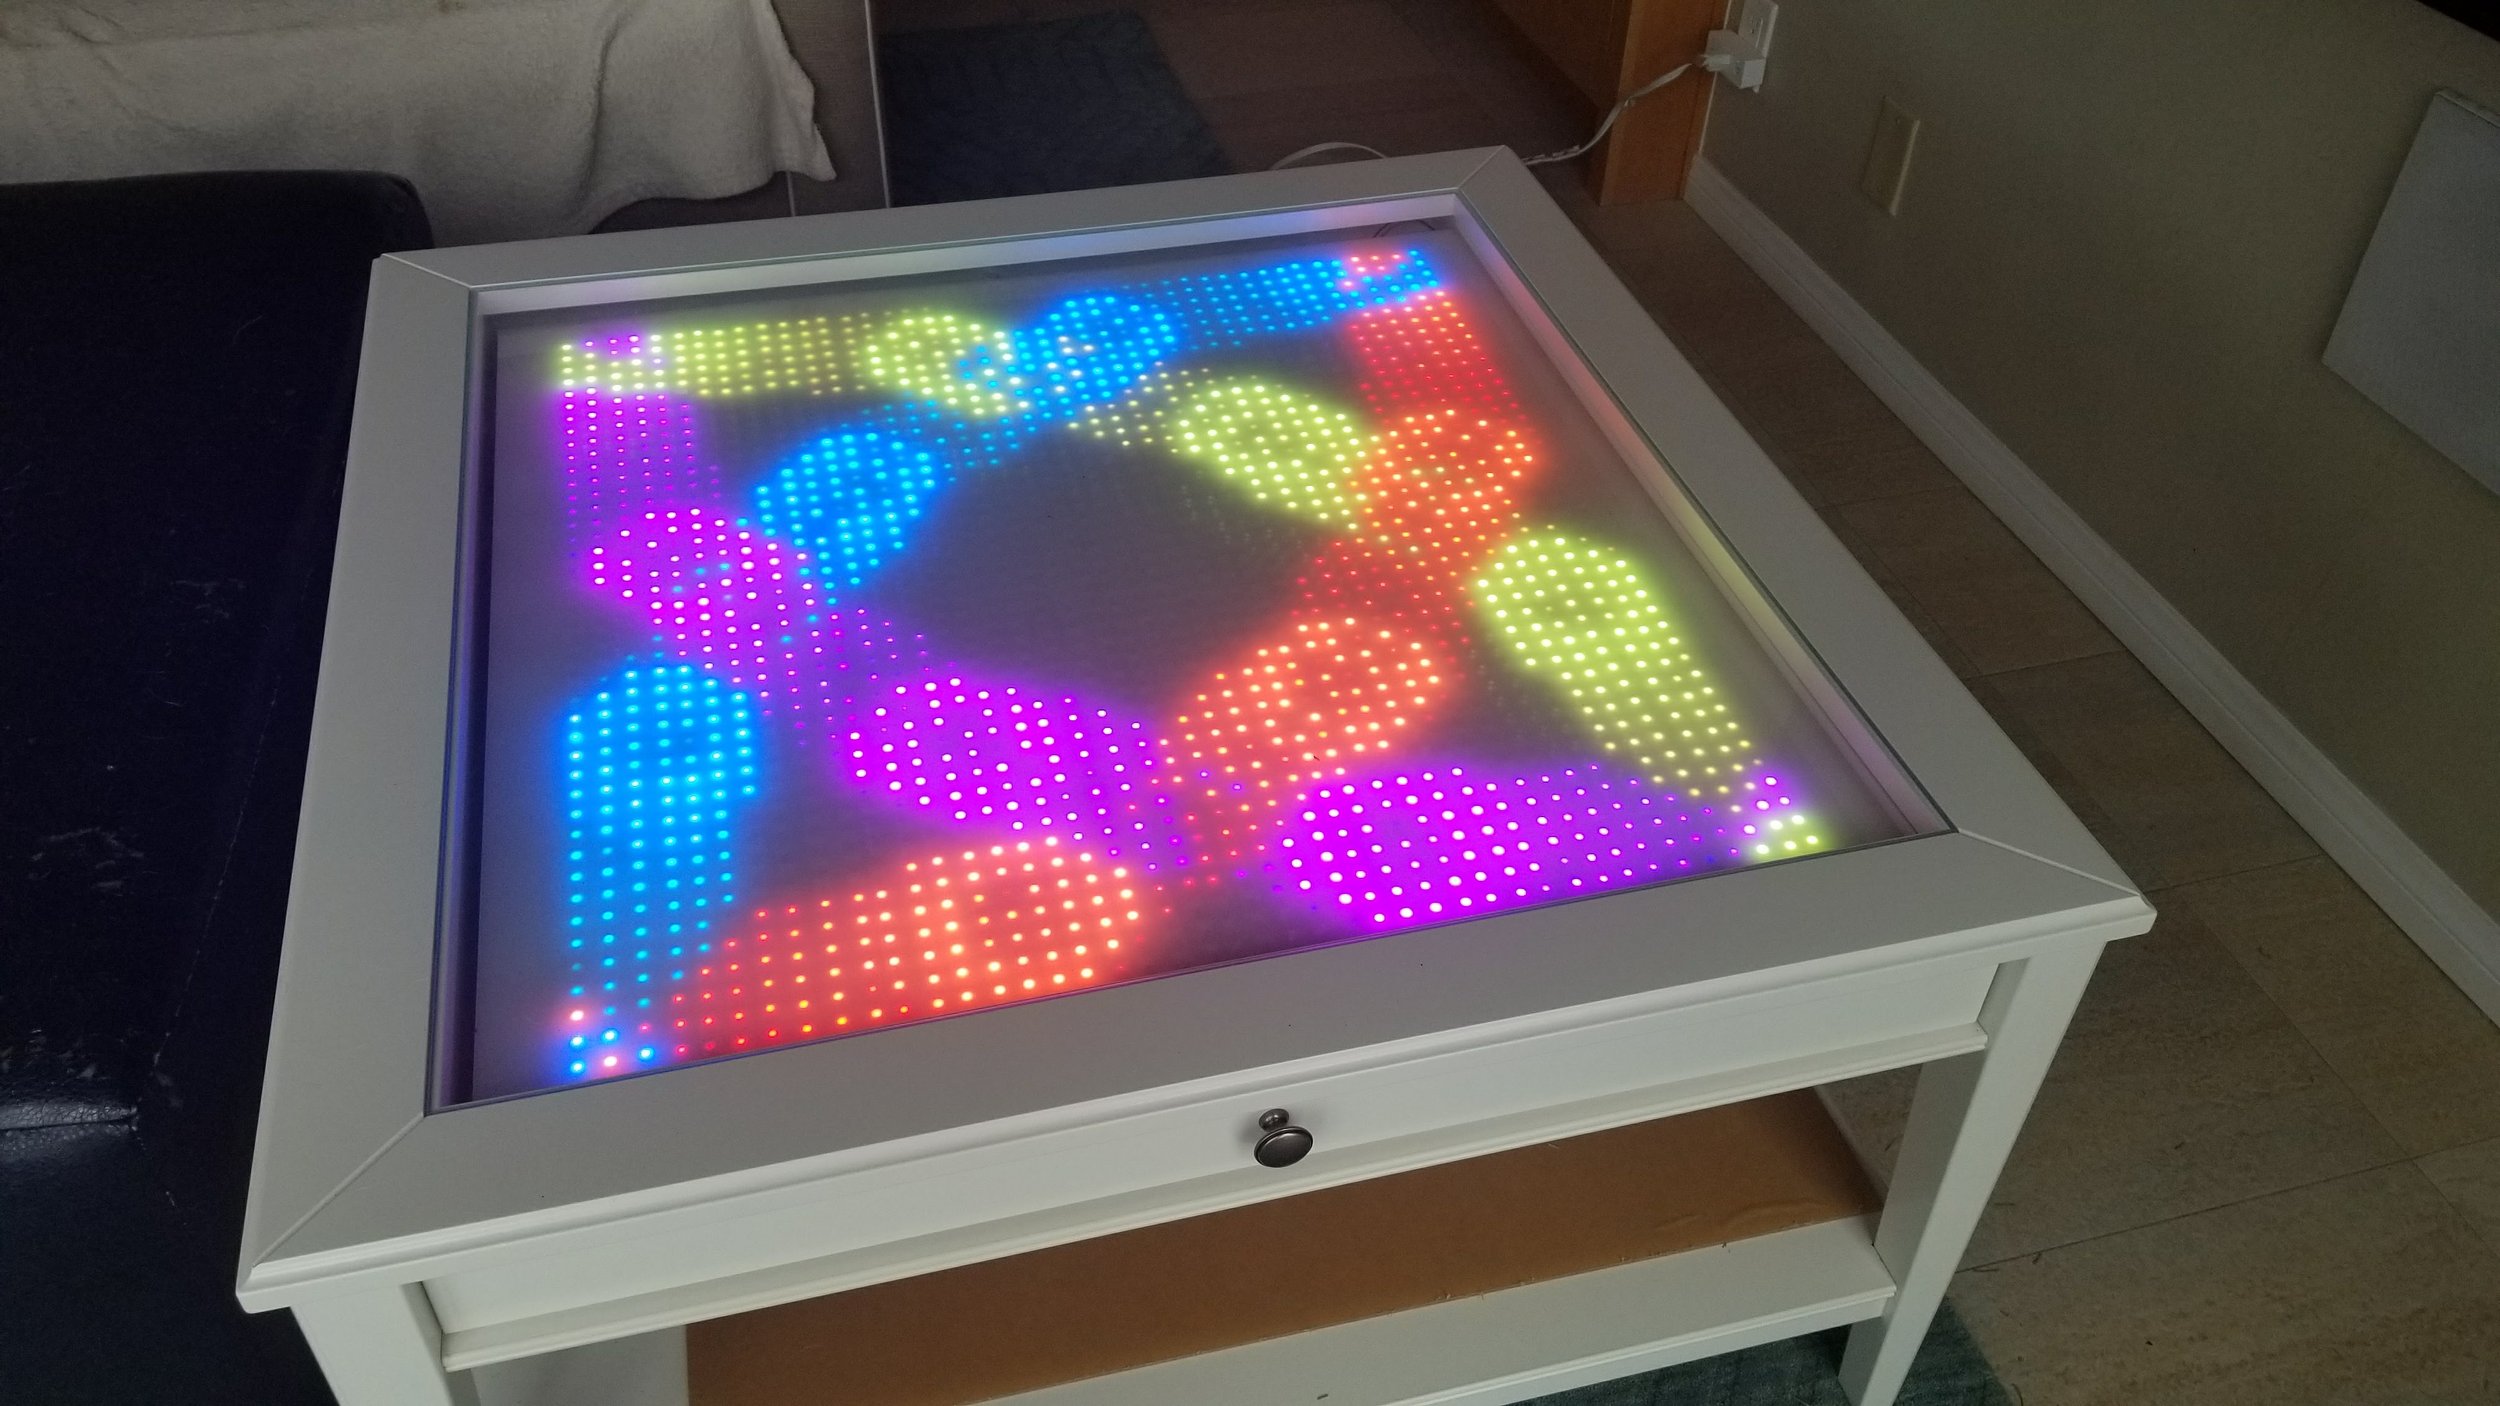
Giant matrix
FOMO 2023
128 x 160 Framed Matrix (29 x 35 inches)
FOMO 2024

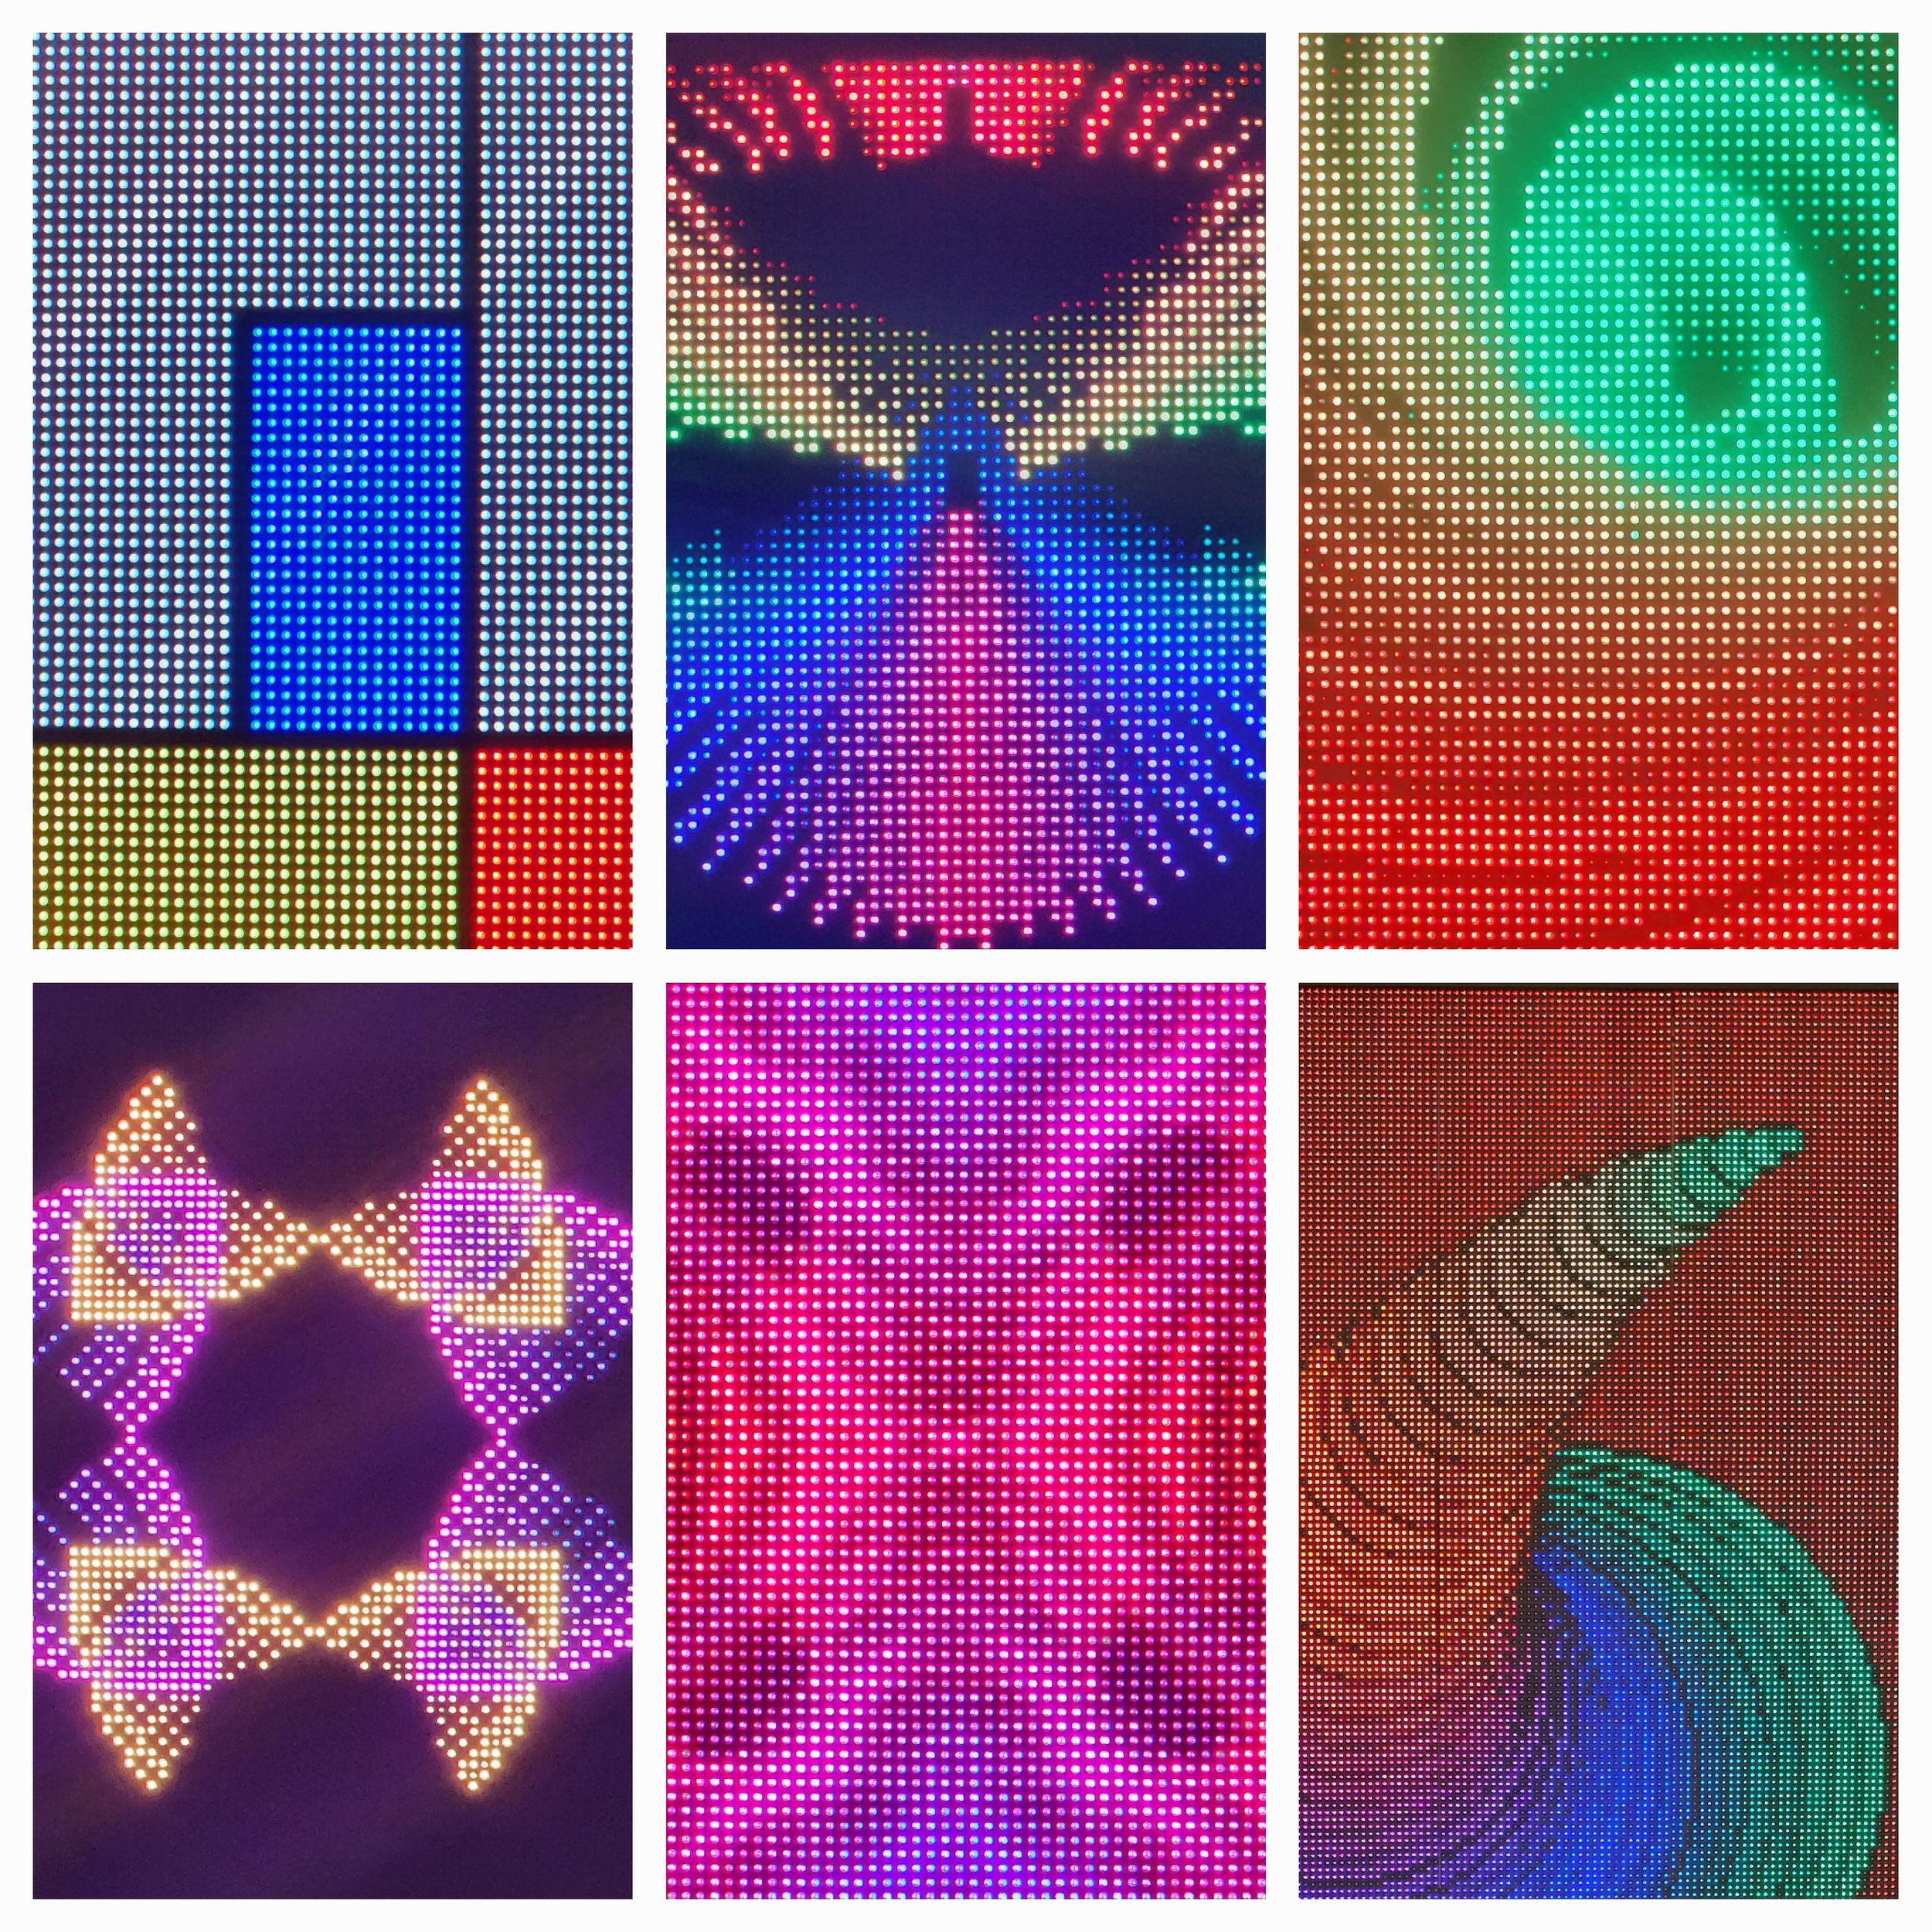


Patterns from the matrix
The LED matrix tirelessly creates ever changing images. A blend if chaos and intent, each one has a brief life before being replaced with another. These are best seen live but are shown here with a bit of my old music mixed in to give a flavor.
Reach
Waves
Blend
Getting digital art to look organic is a challenge. Enjoy
Flow
Getting digital art to look organic is a challenge. Enjoy
Blur
Getting digital art to look organic is a challenge. Enjoy
Emerge
Matrix
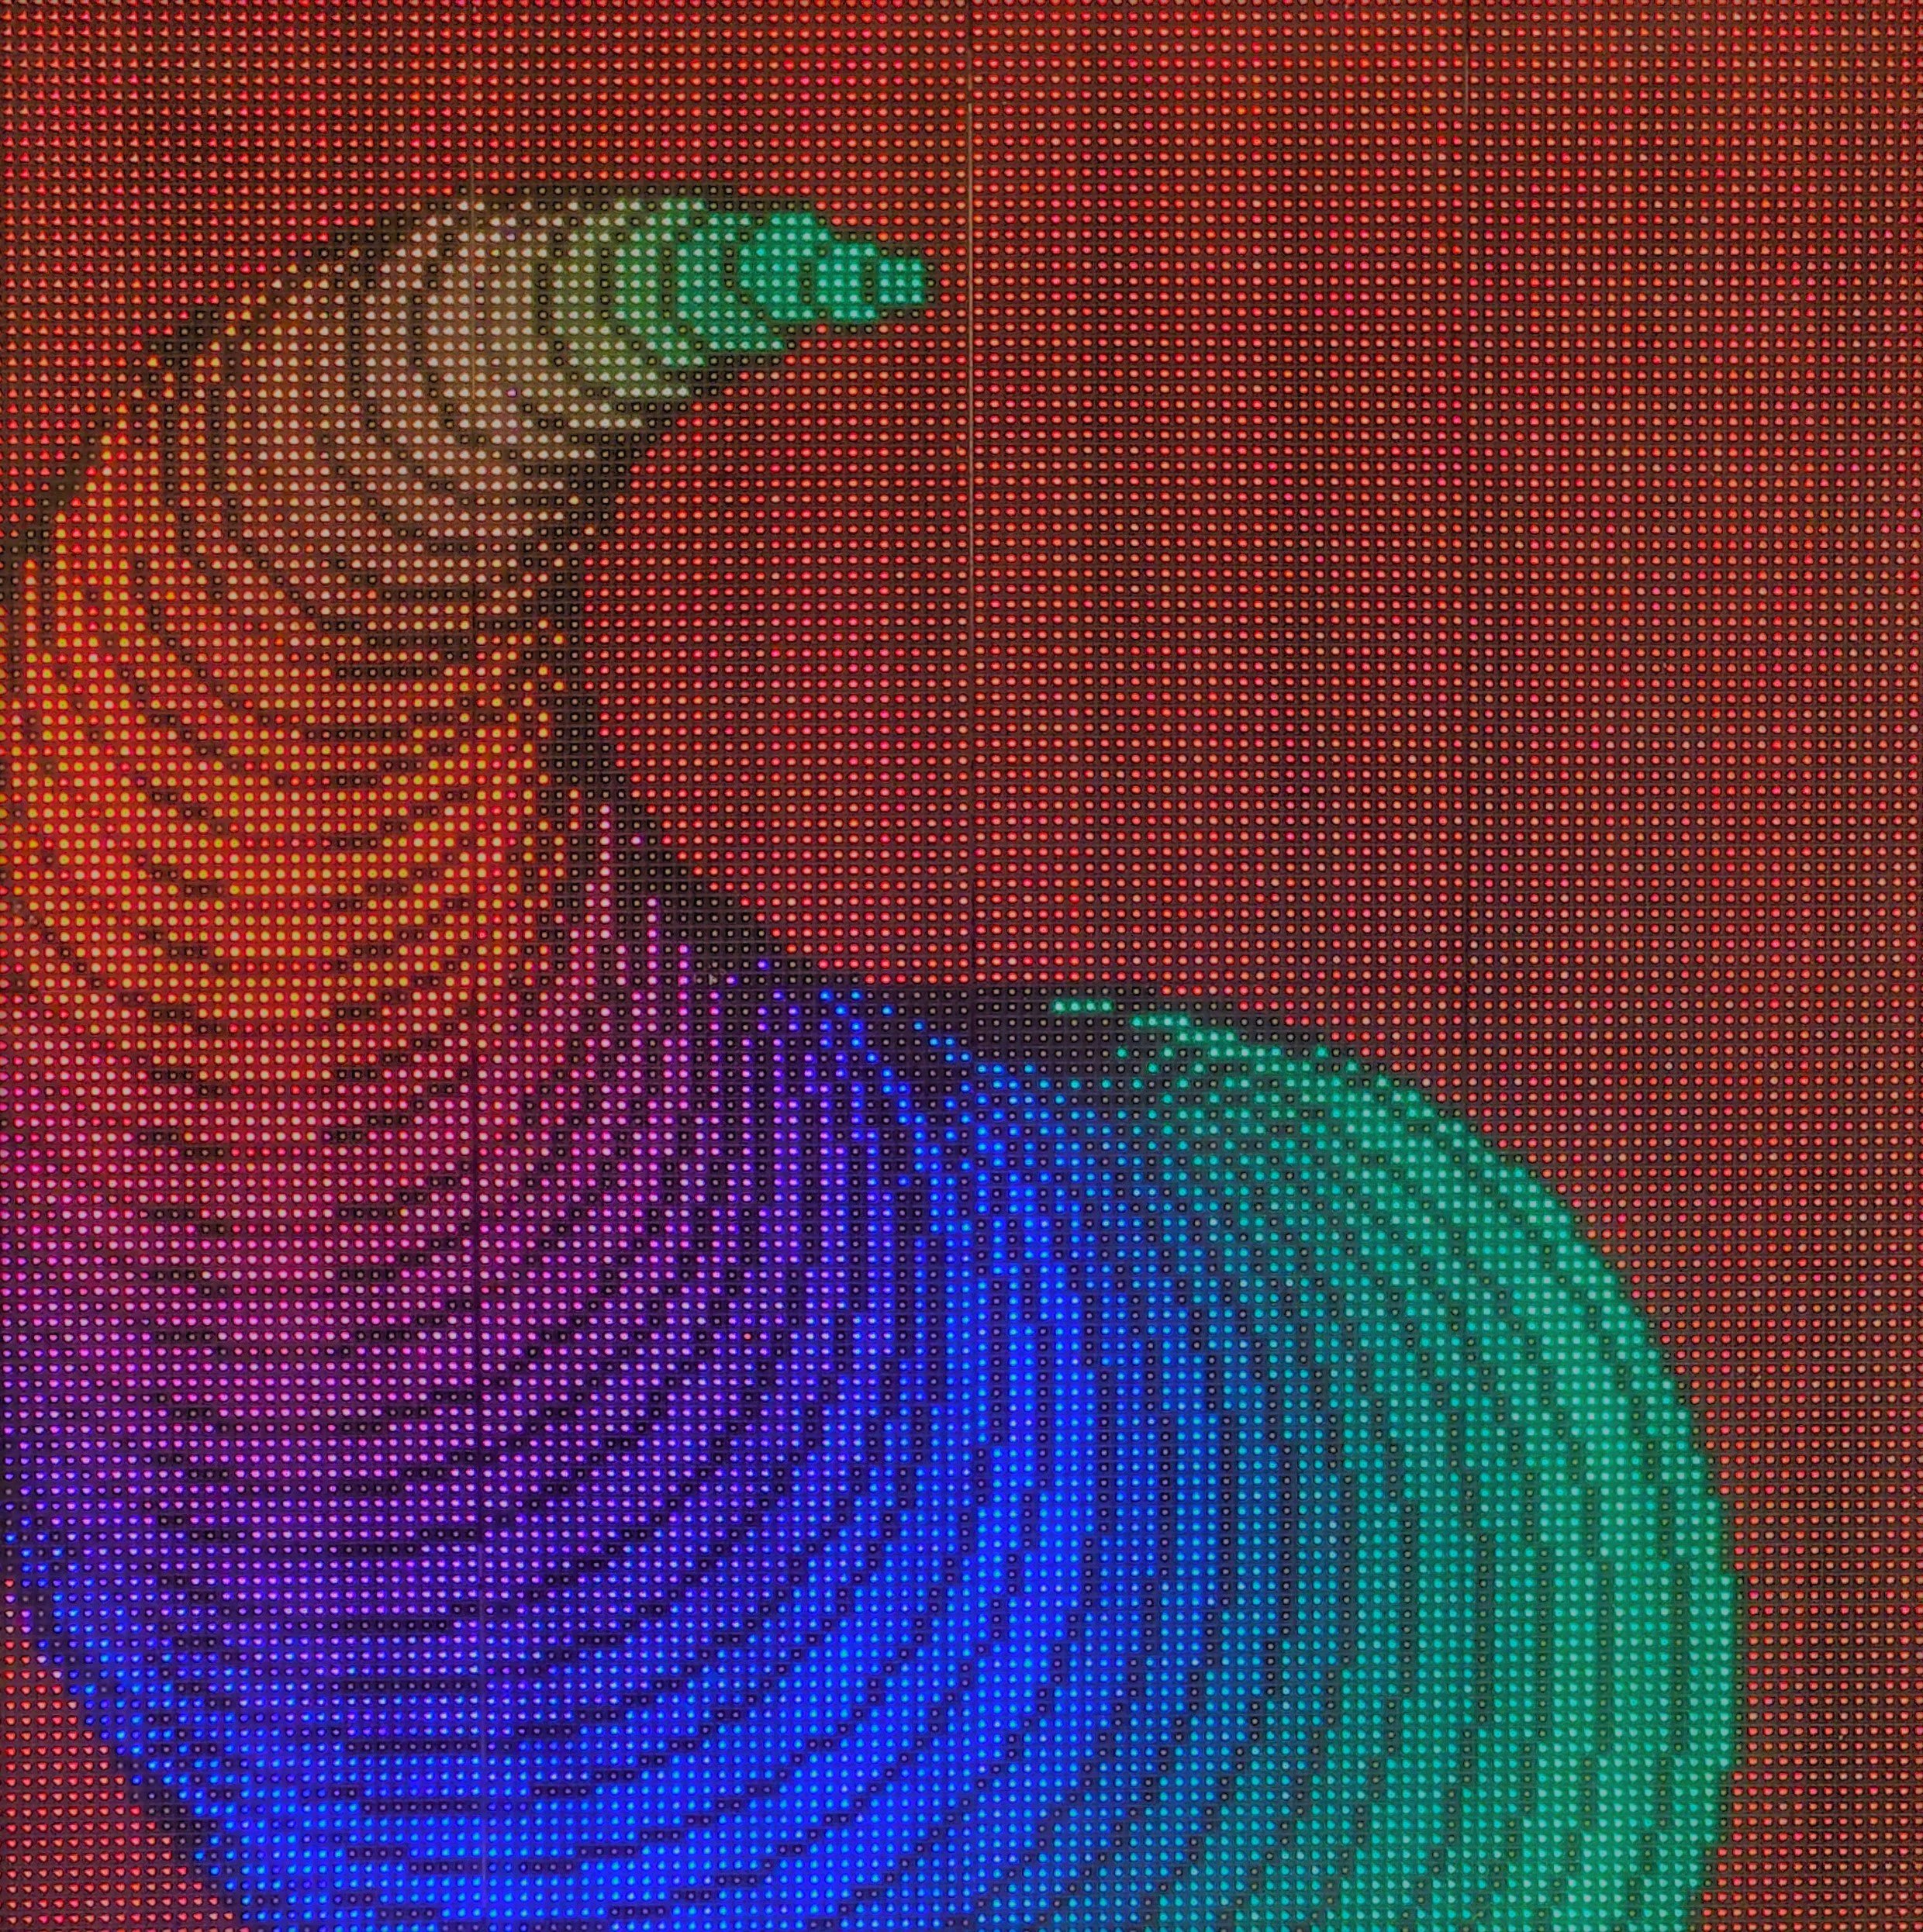
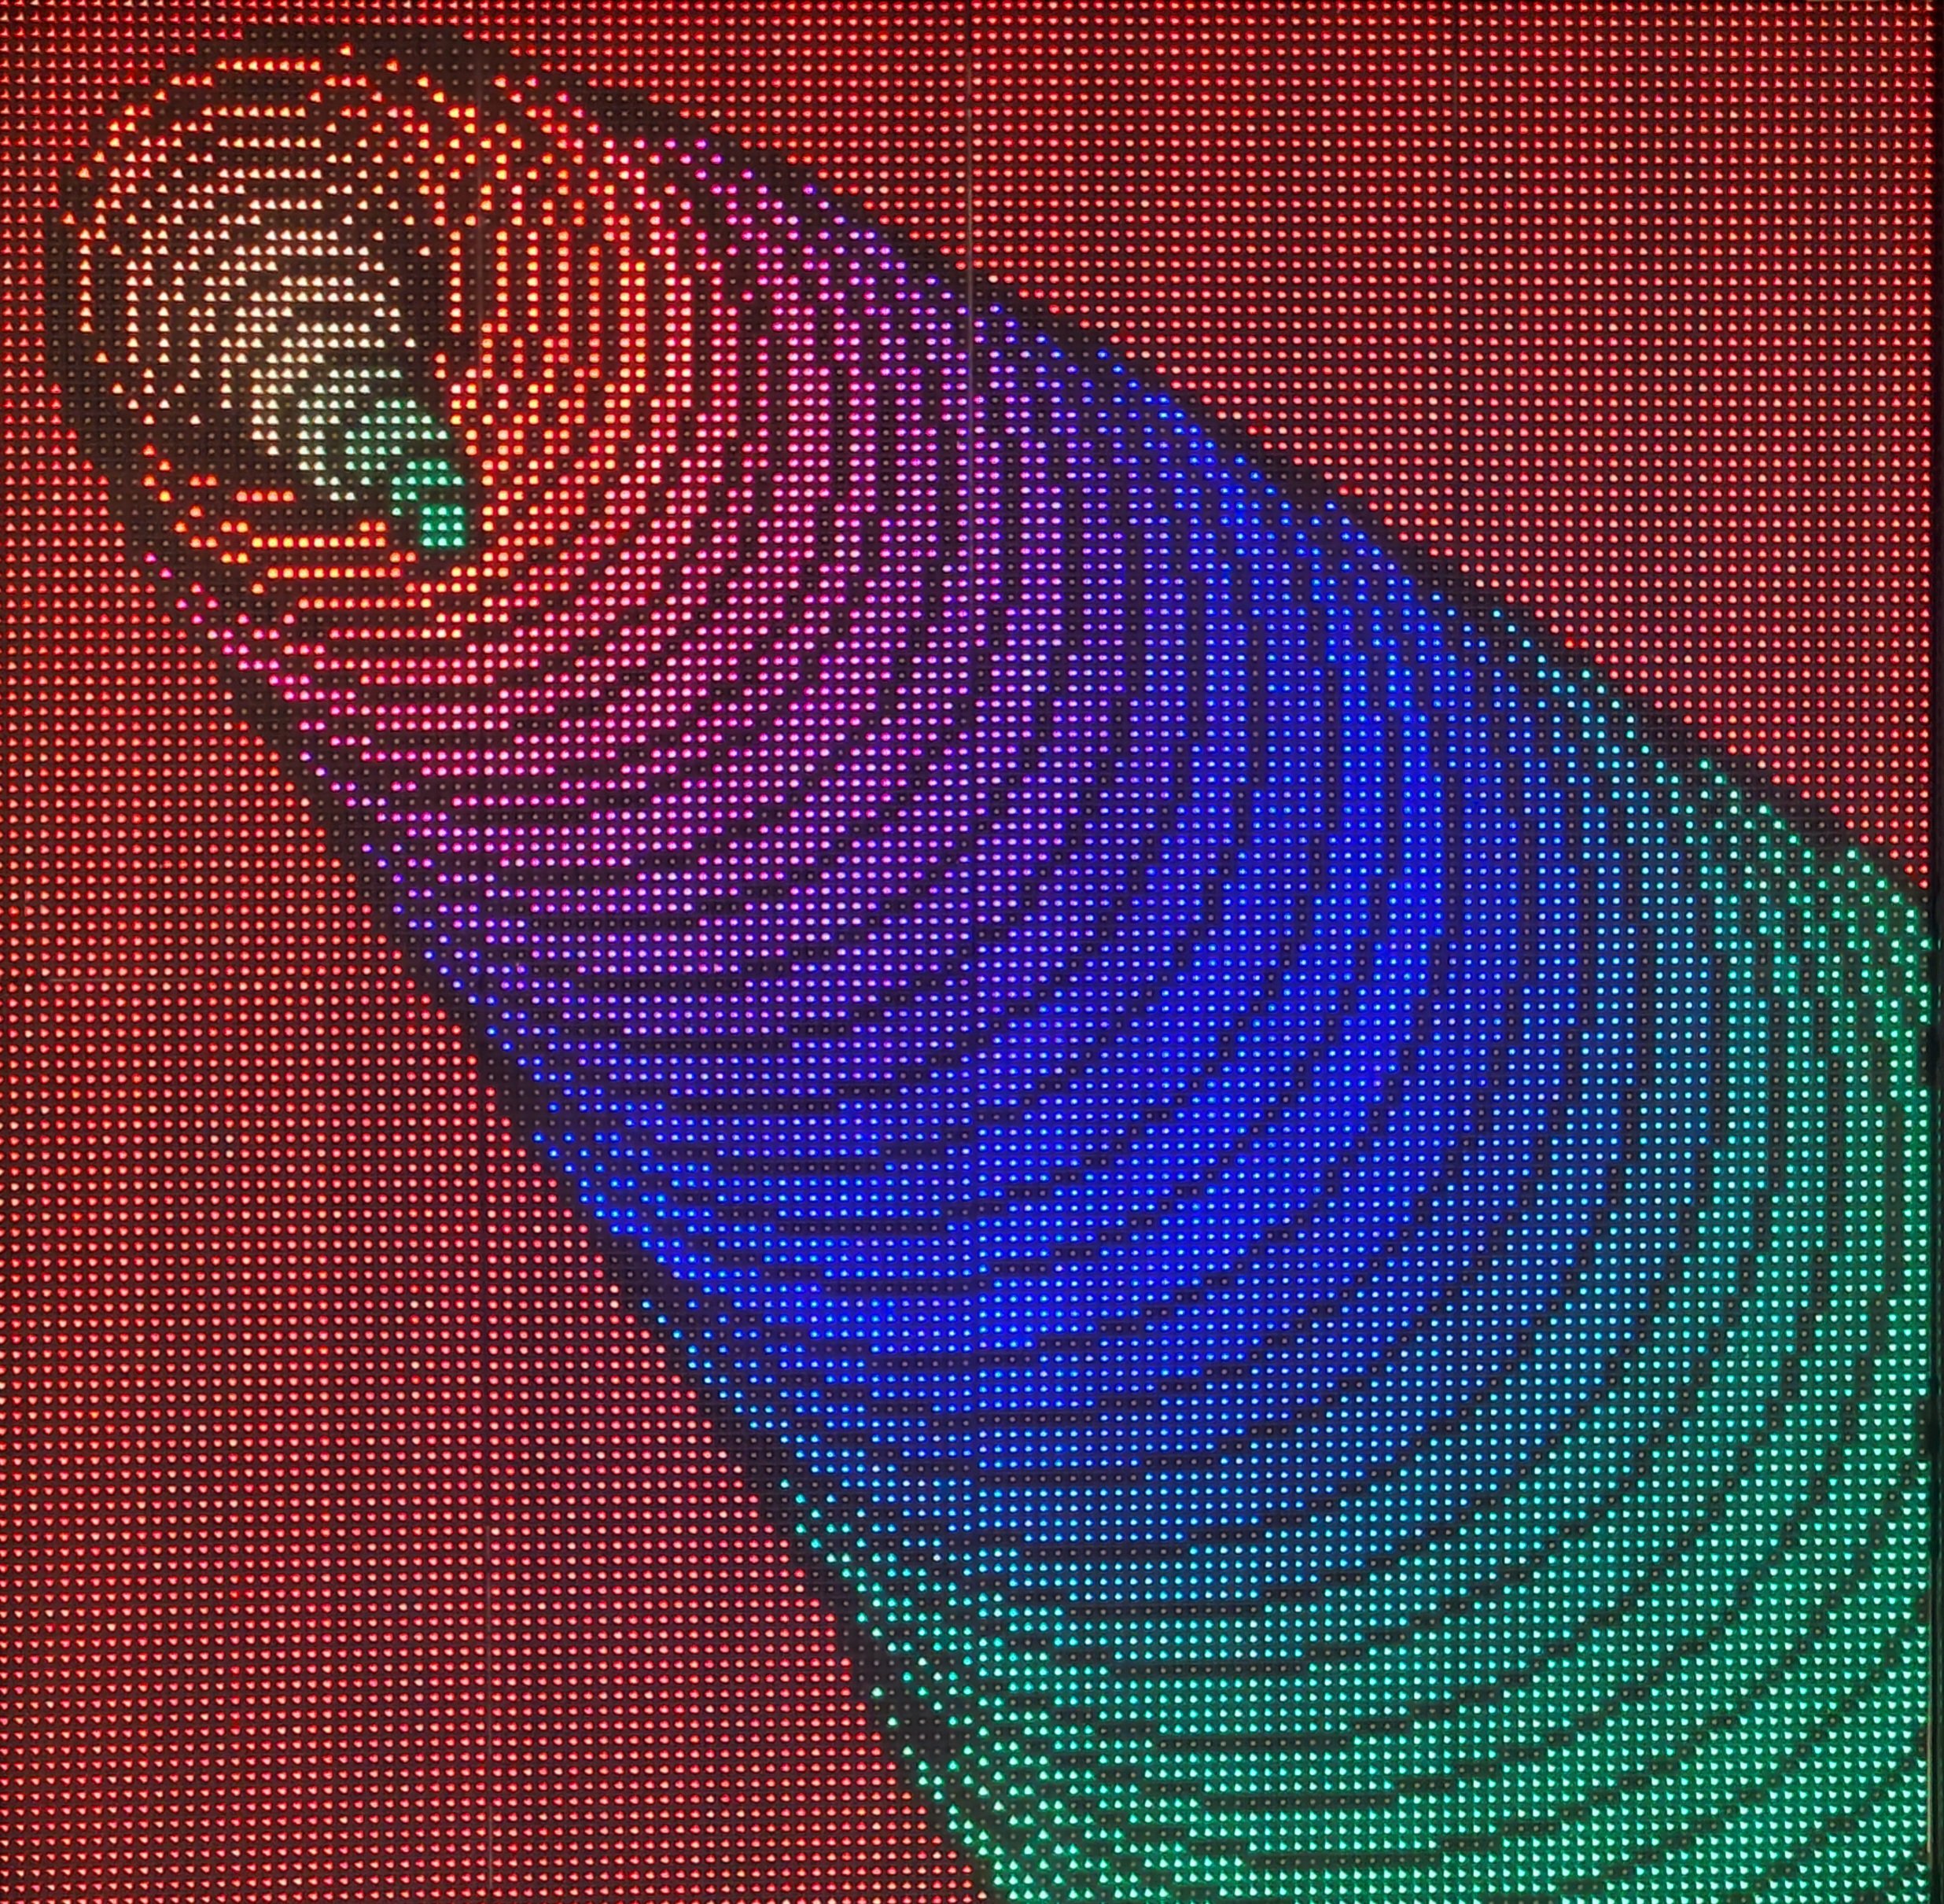
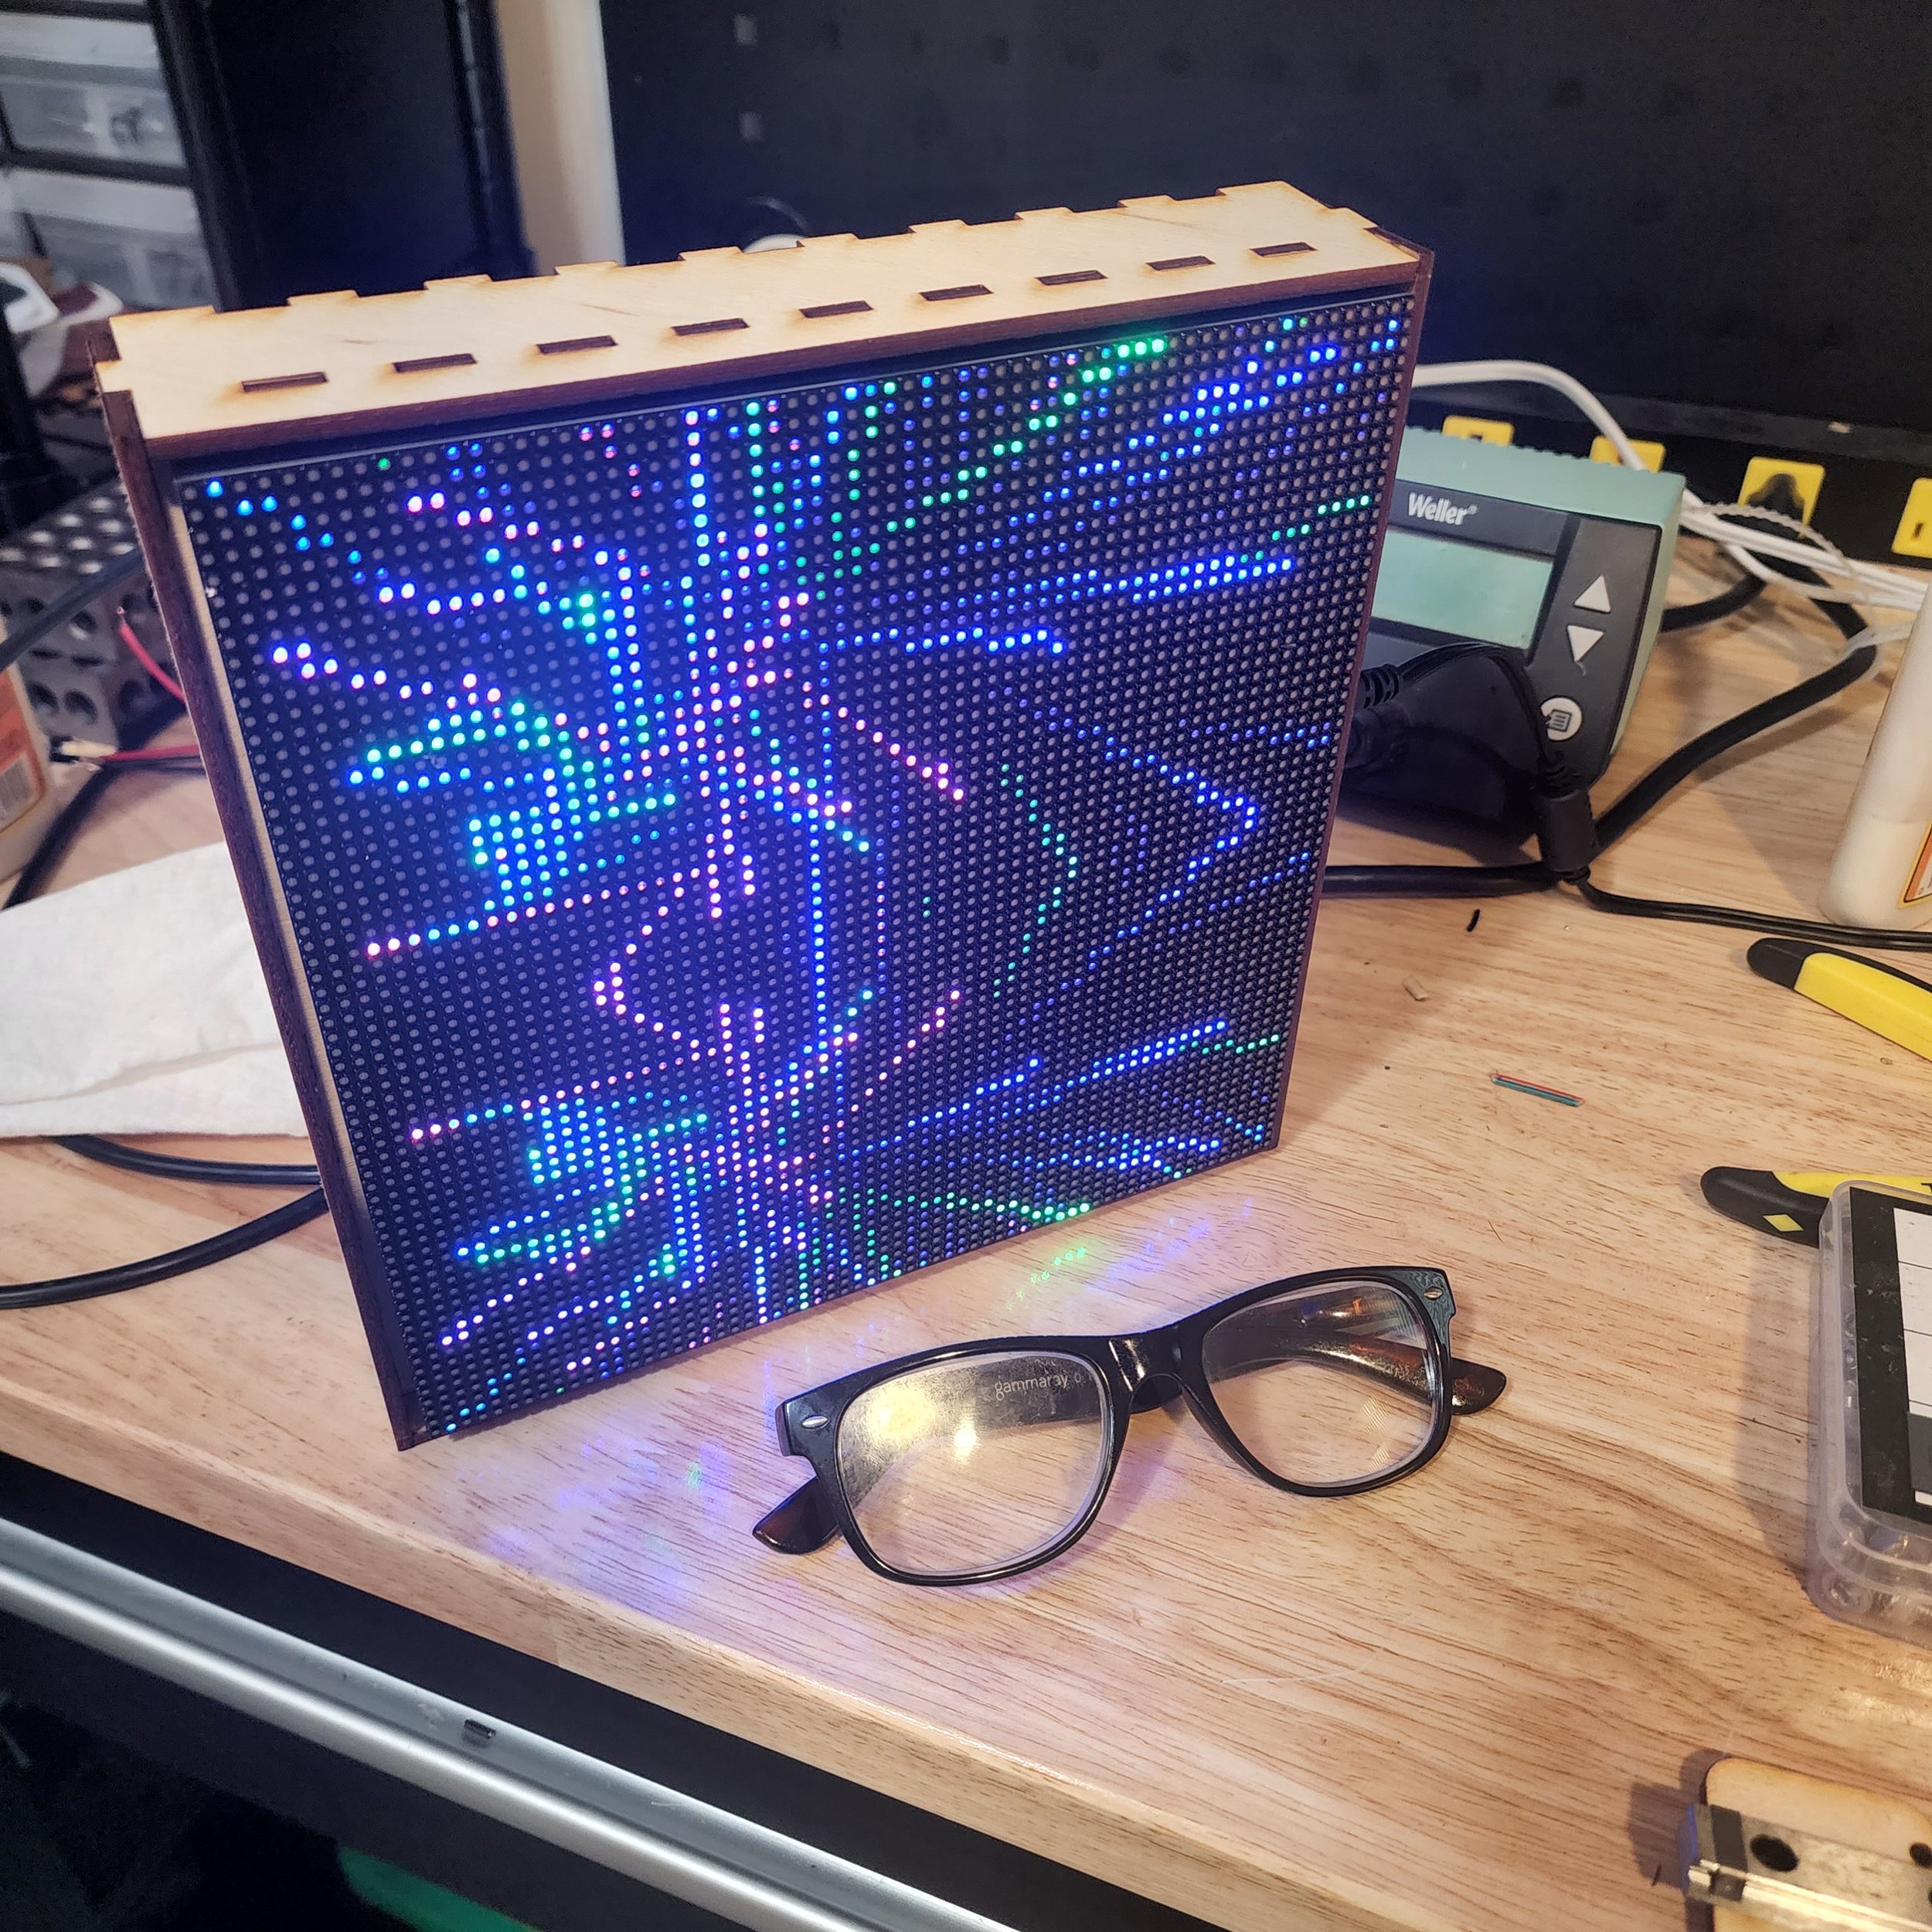
My matrix work brings motion and change to a canvas made from LED pixels. Designed with intentional chaos, each visual element is intended to persist for 2 to 3 minutes and then be replaced with another from a curated list. Each is born with unique traits which drive the resulting image. There is intentional randomness to these traits so that while the element may echo familiarity, there is change and nuance in terms of speed, color, persistence, scale, aspect, and other visual characteristics; resulting in a viewing experience ever evolving, wistfully raw, and engaging.
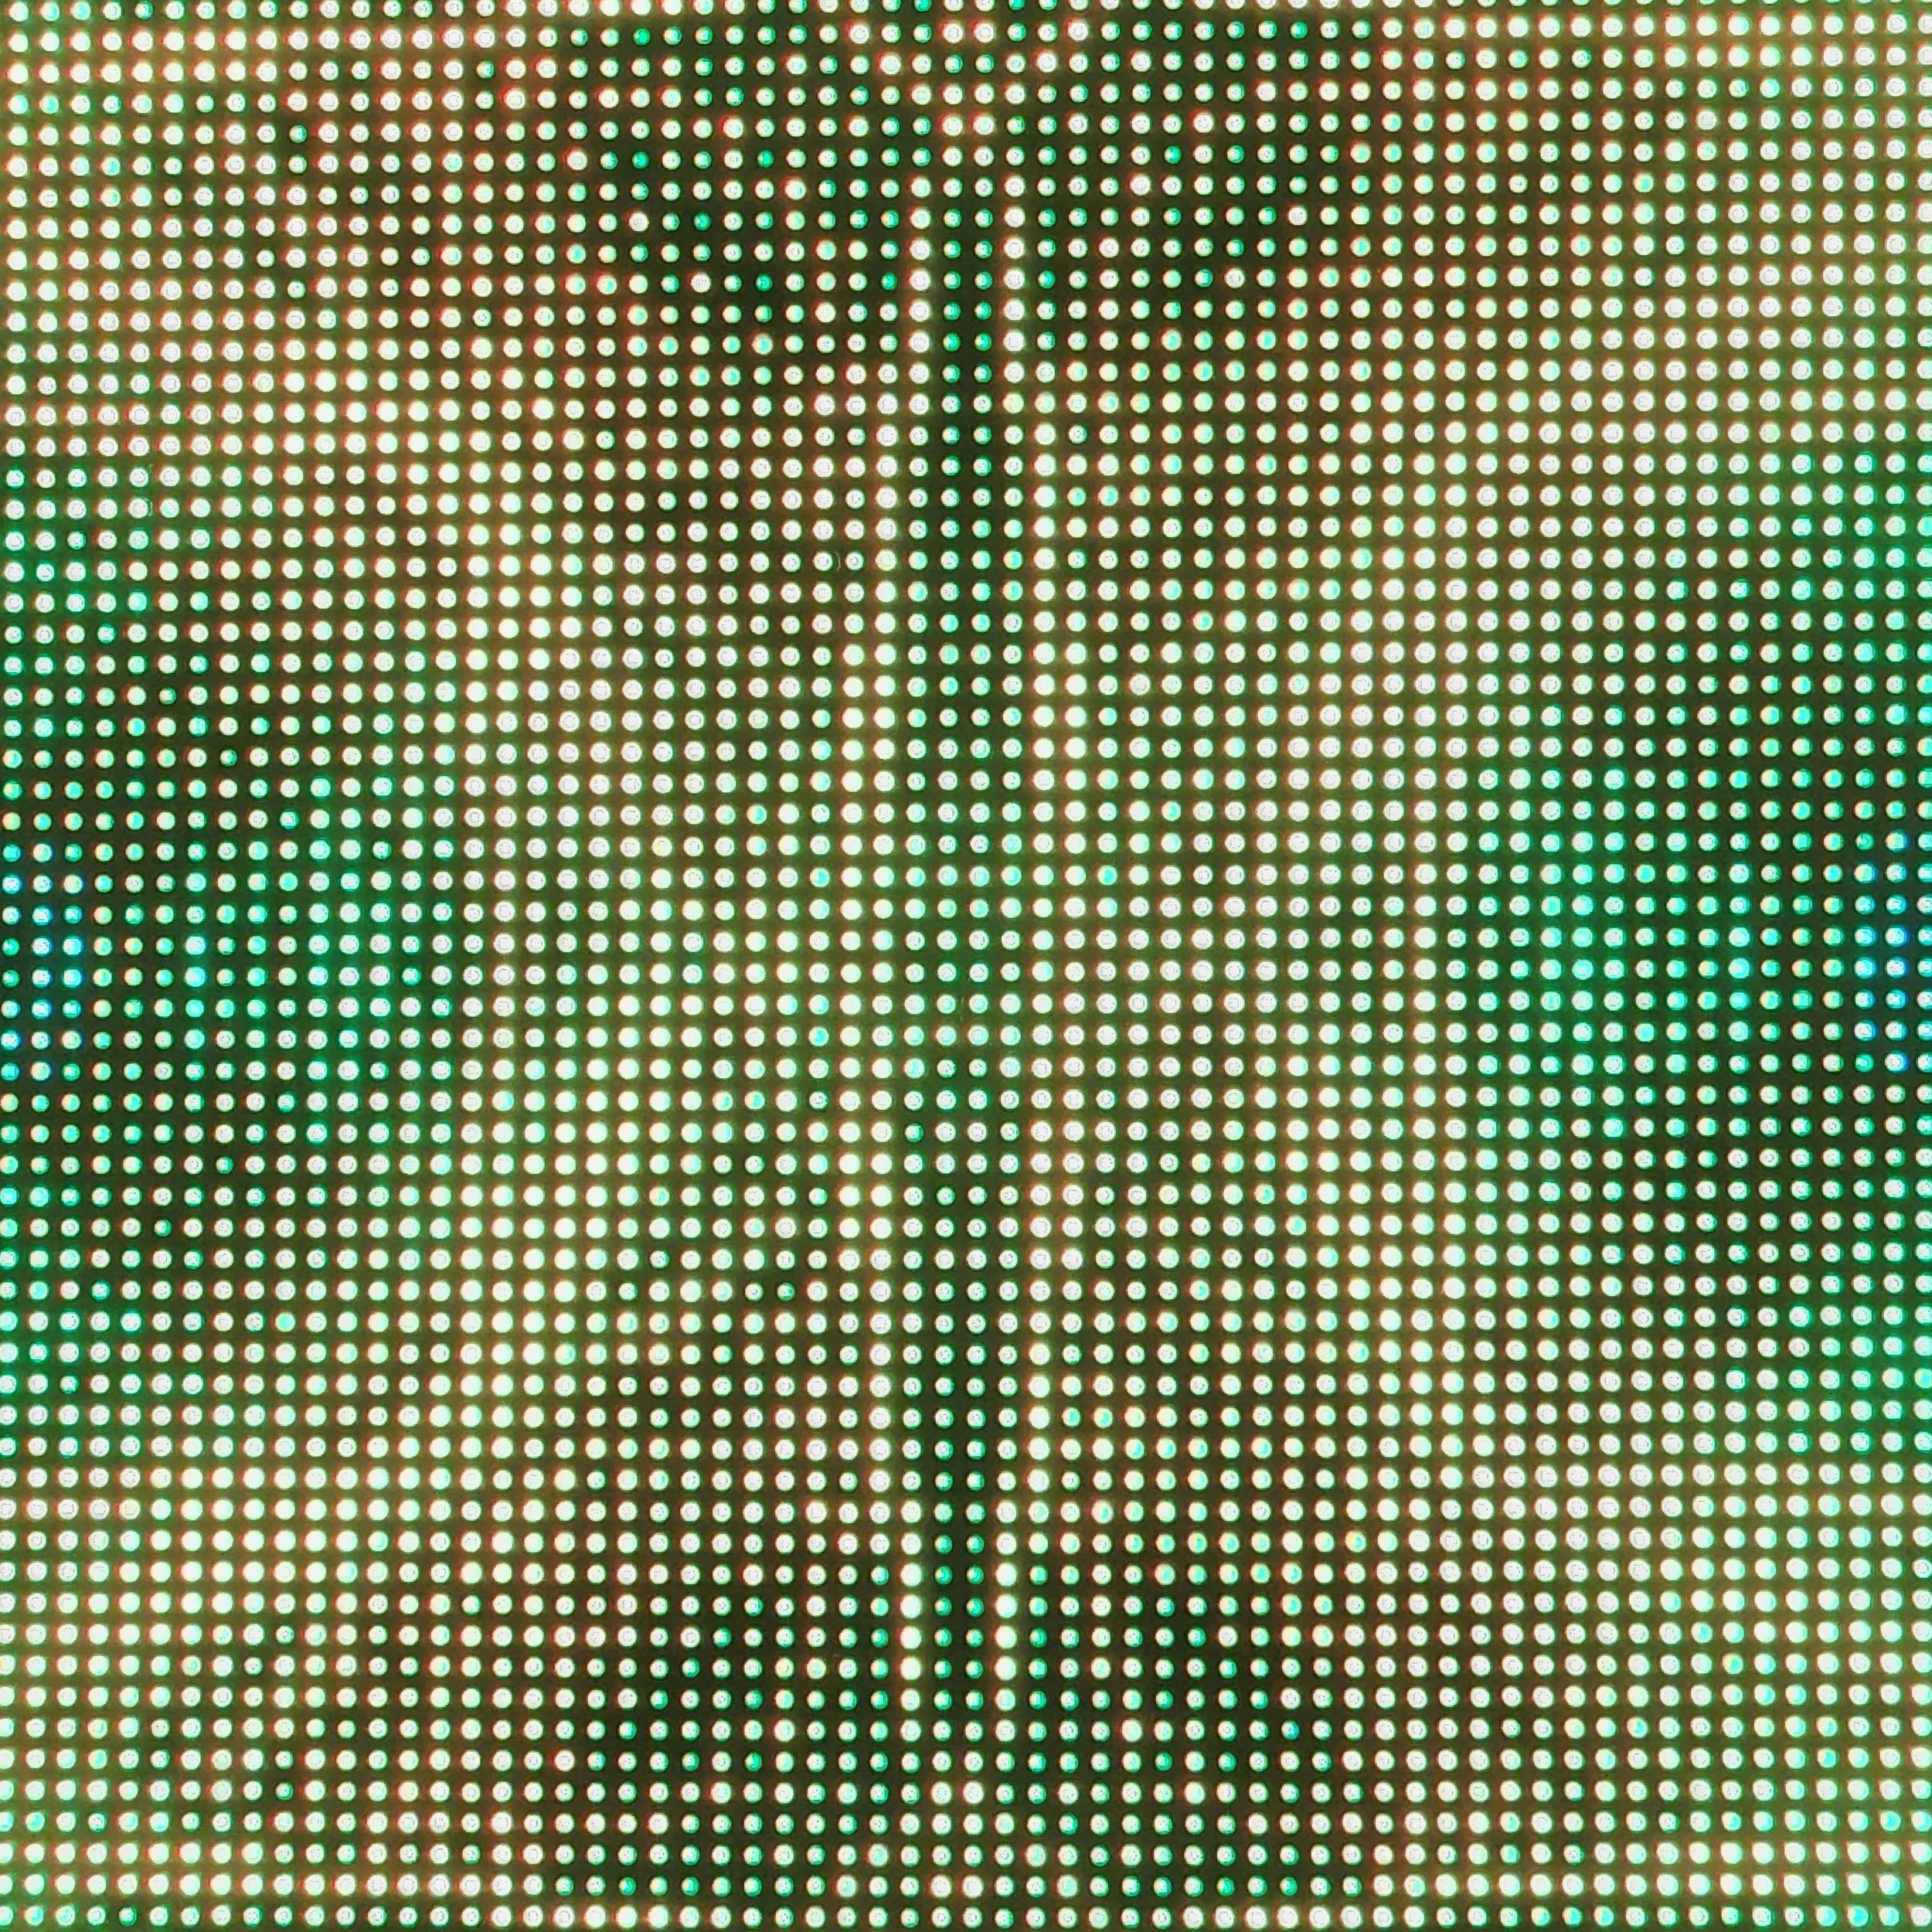
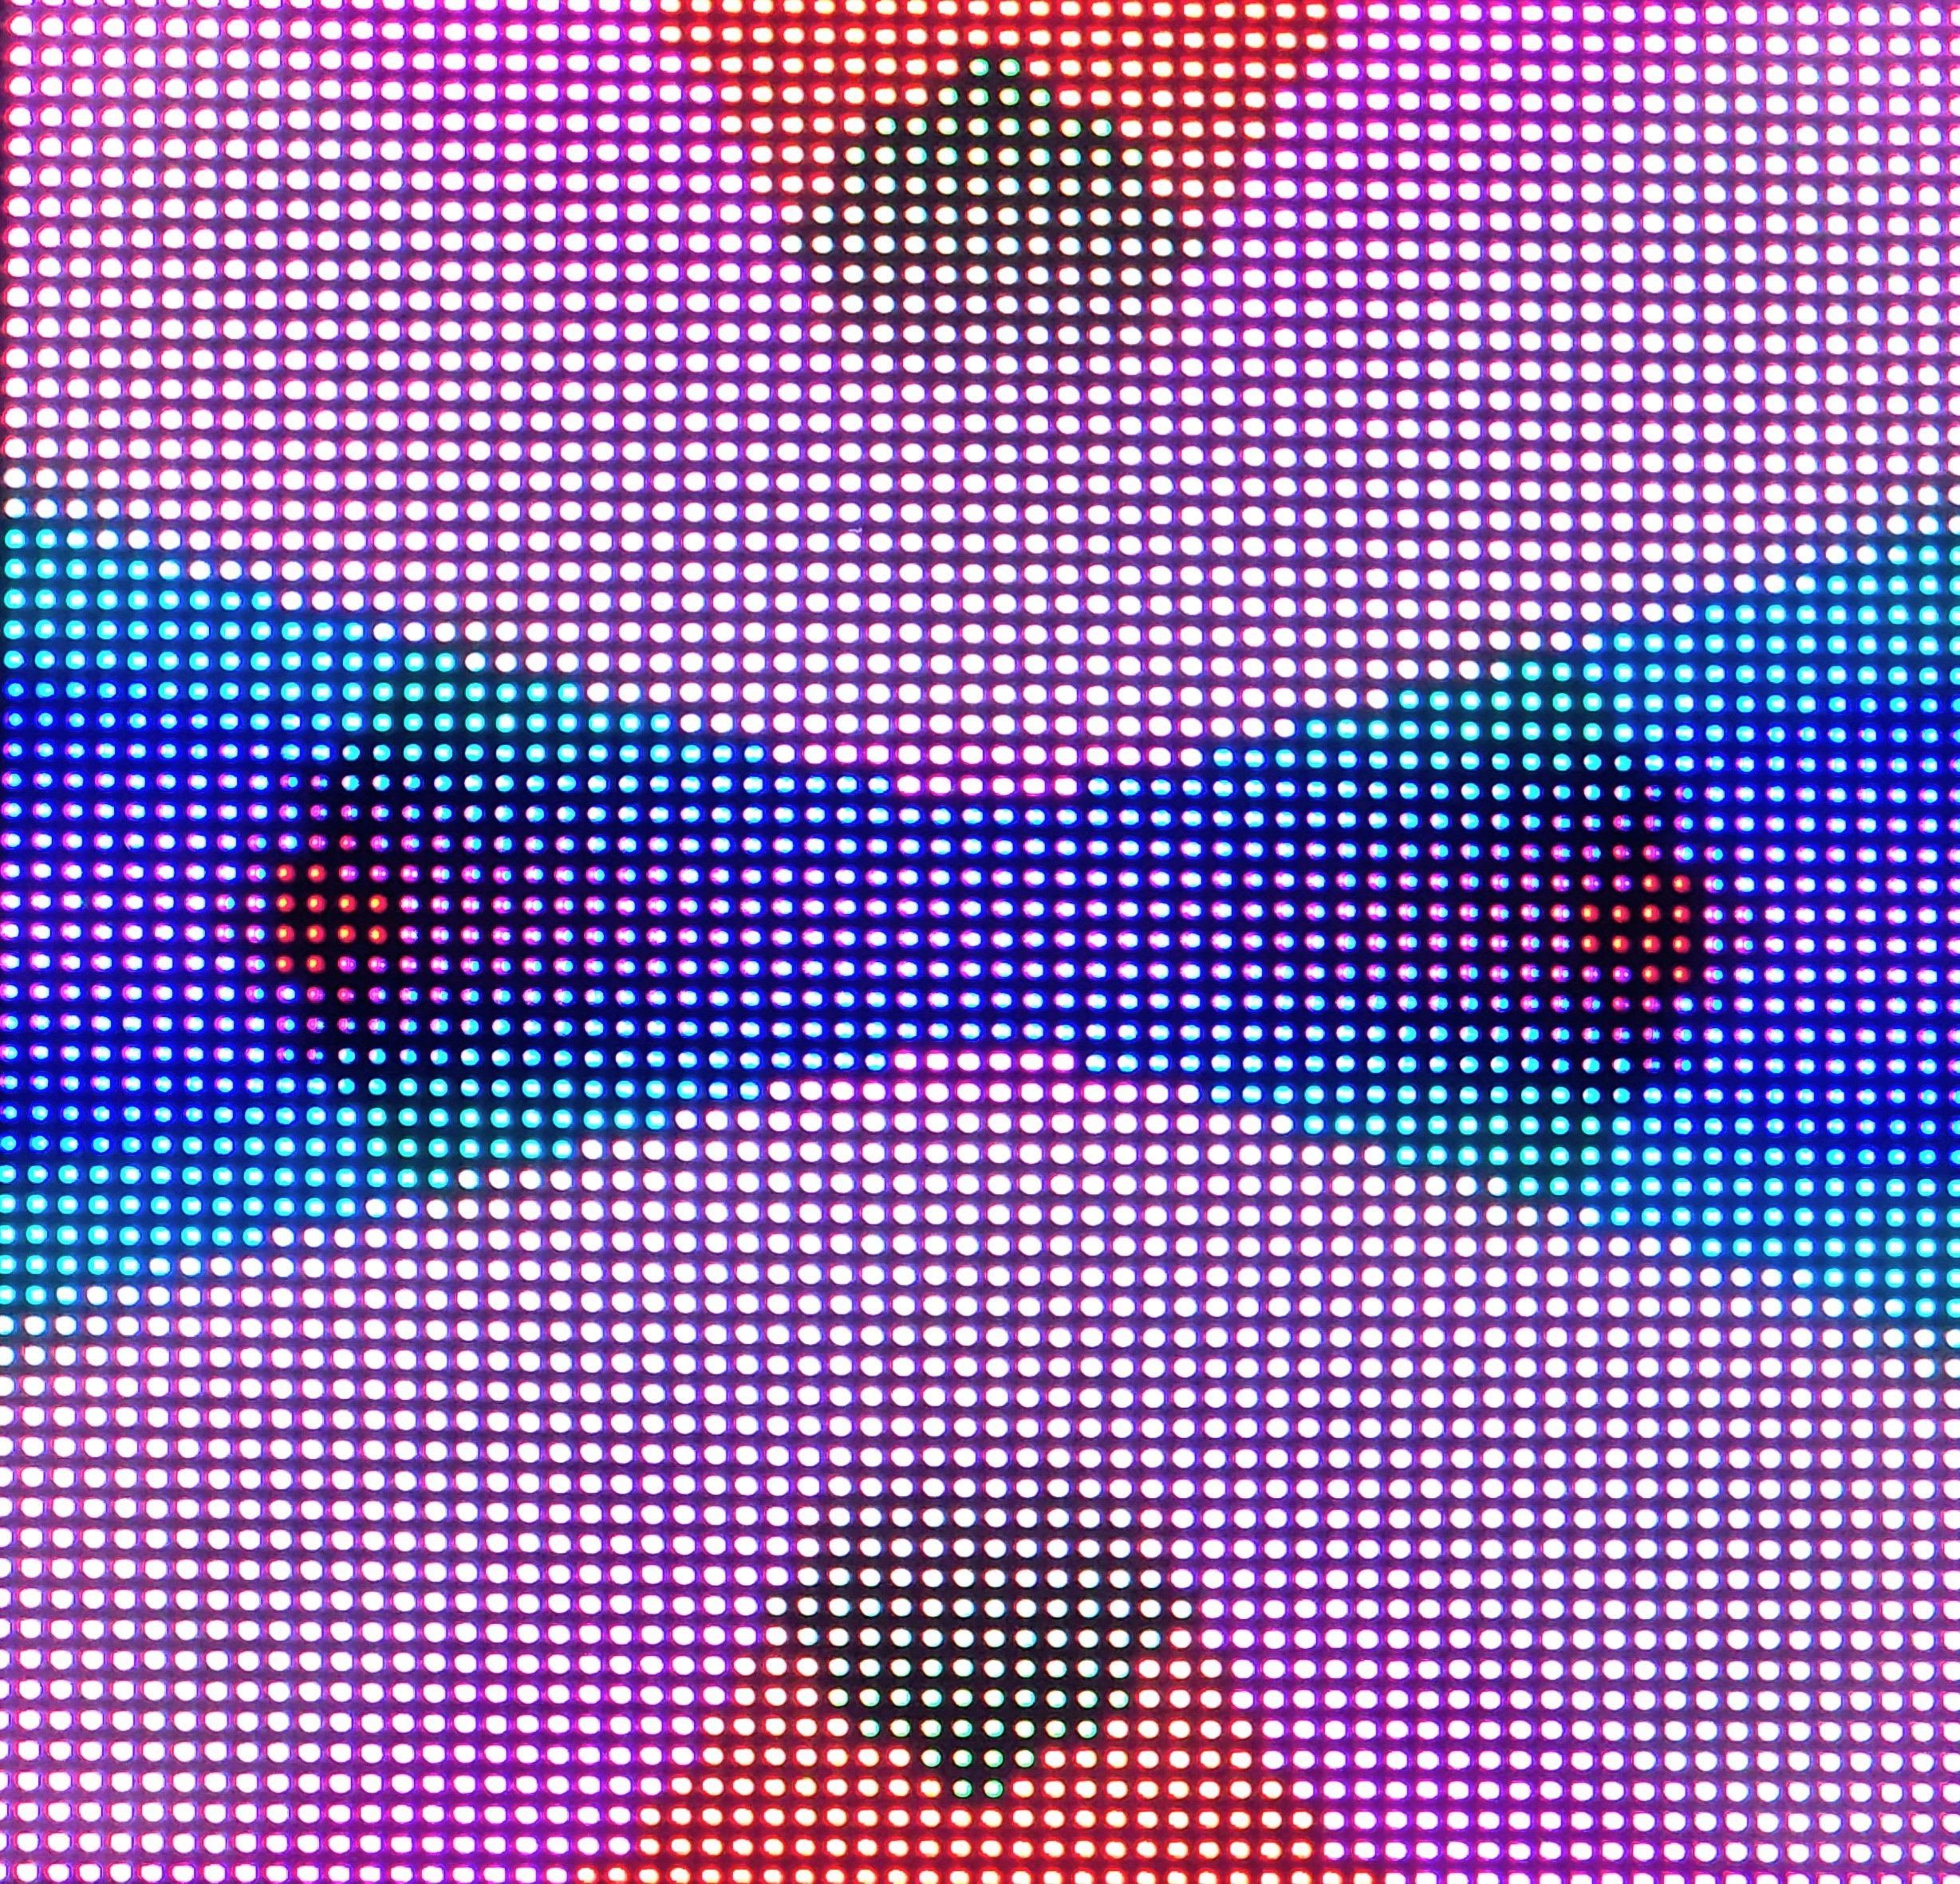
I built my first Matrix from strips of LEDs back in 2017. It took hours of soldering to complete. I believe it was 18 x 18 pixels which is a total of 324 pixels. The matrix was controlled by a “brain” which is really small microcontroller called an “Arduino”. As arduinos have advanced, I have been able to drive larger and more complicated pieces. My current designs feature as many as 24,576 individual pixels (73,728 LEDs as each pixel is 3 LED: red, blue, and green). This is the limit of the current arduino brain that I use (teensy 4.0/4.1). The physical matrix is the canvas and plays a role in the final result.
The canvas matters:
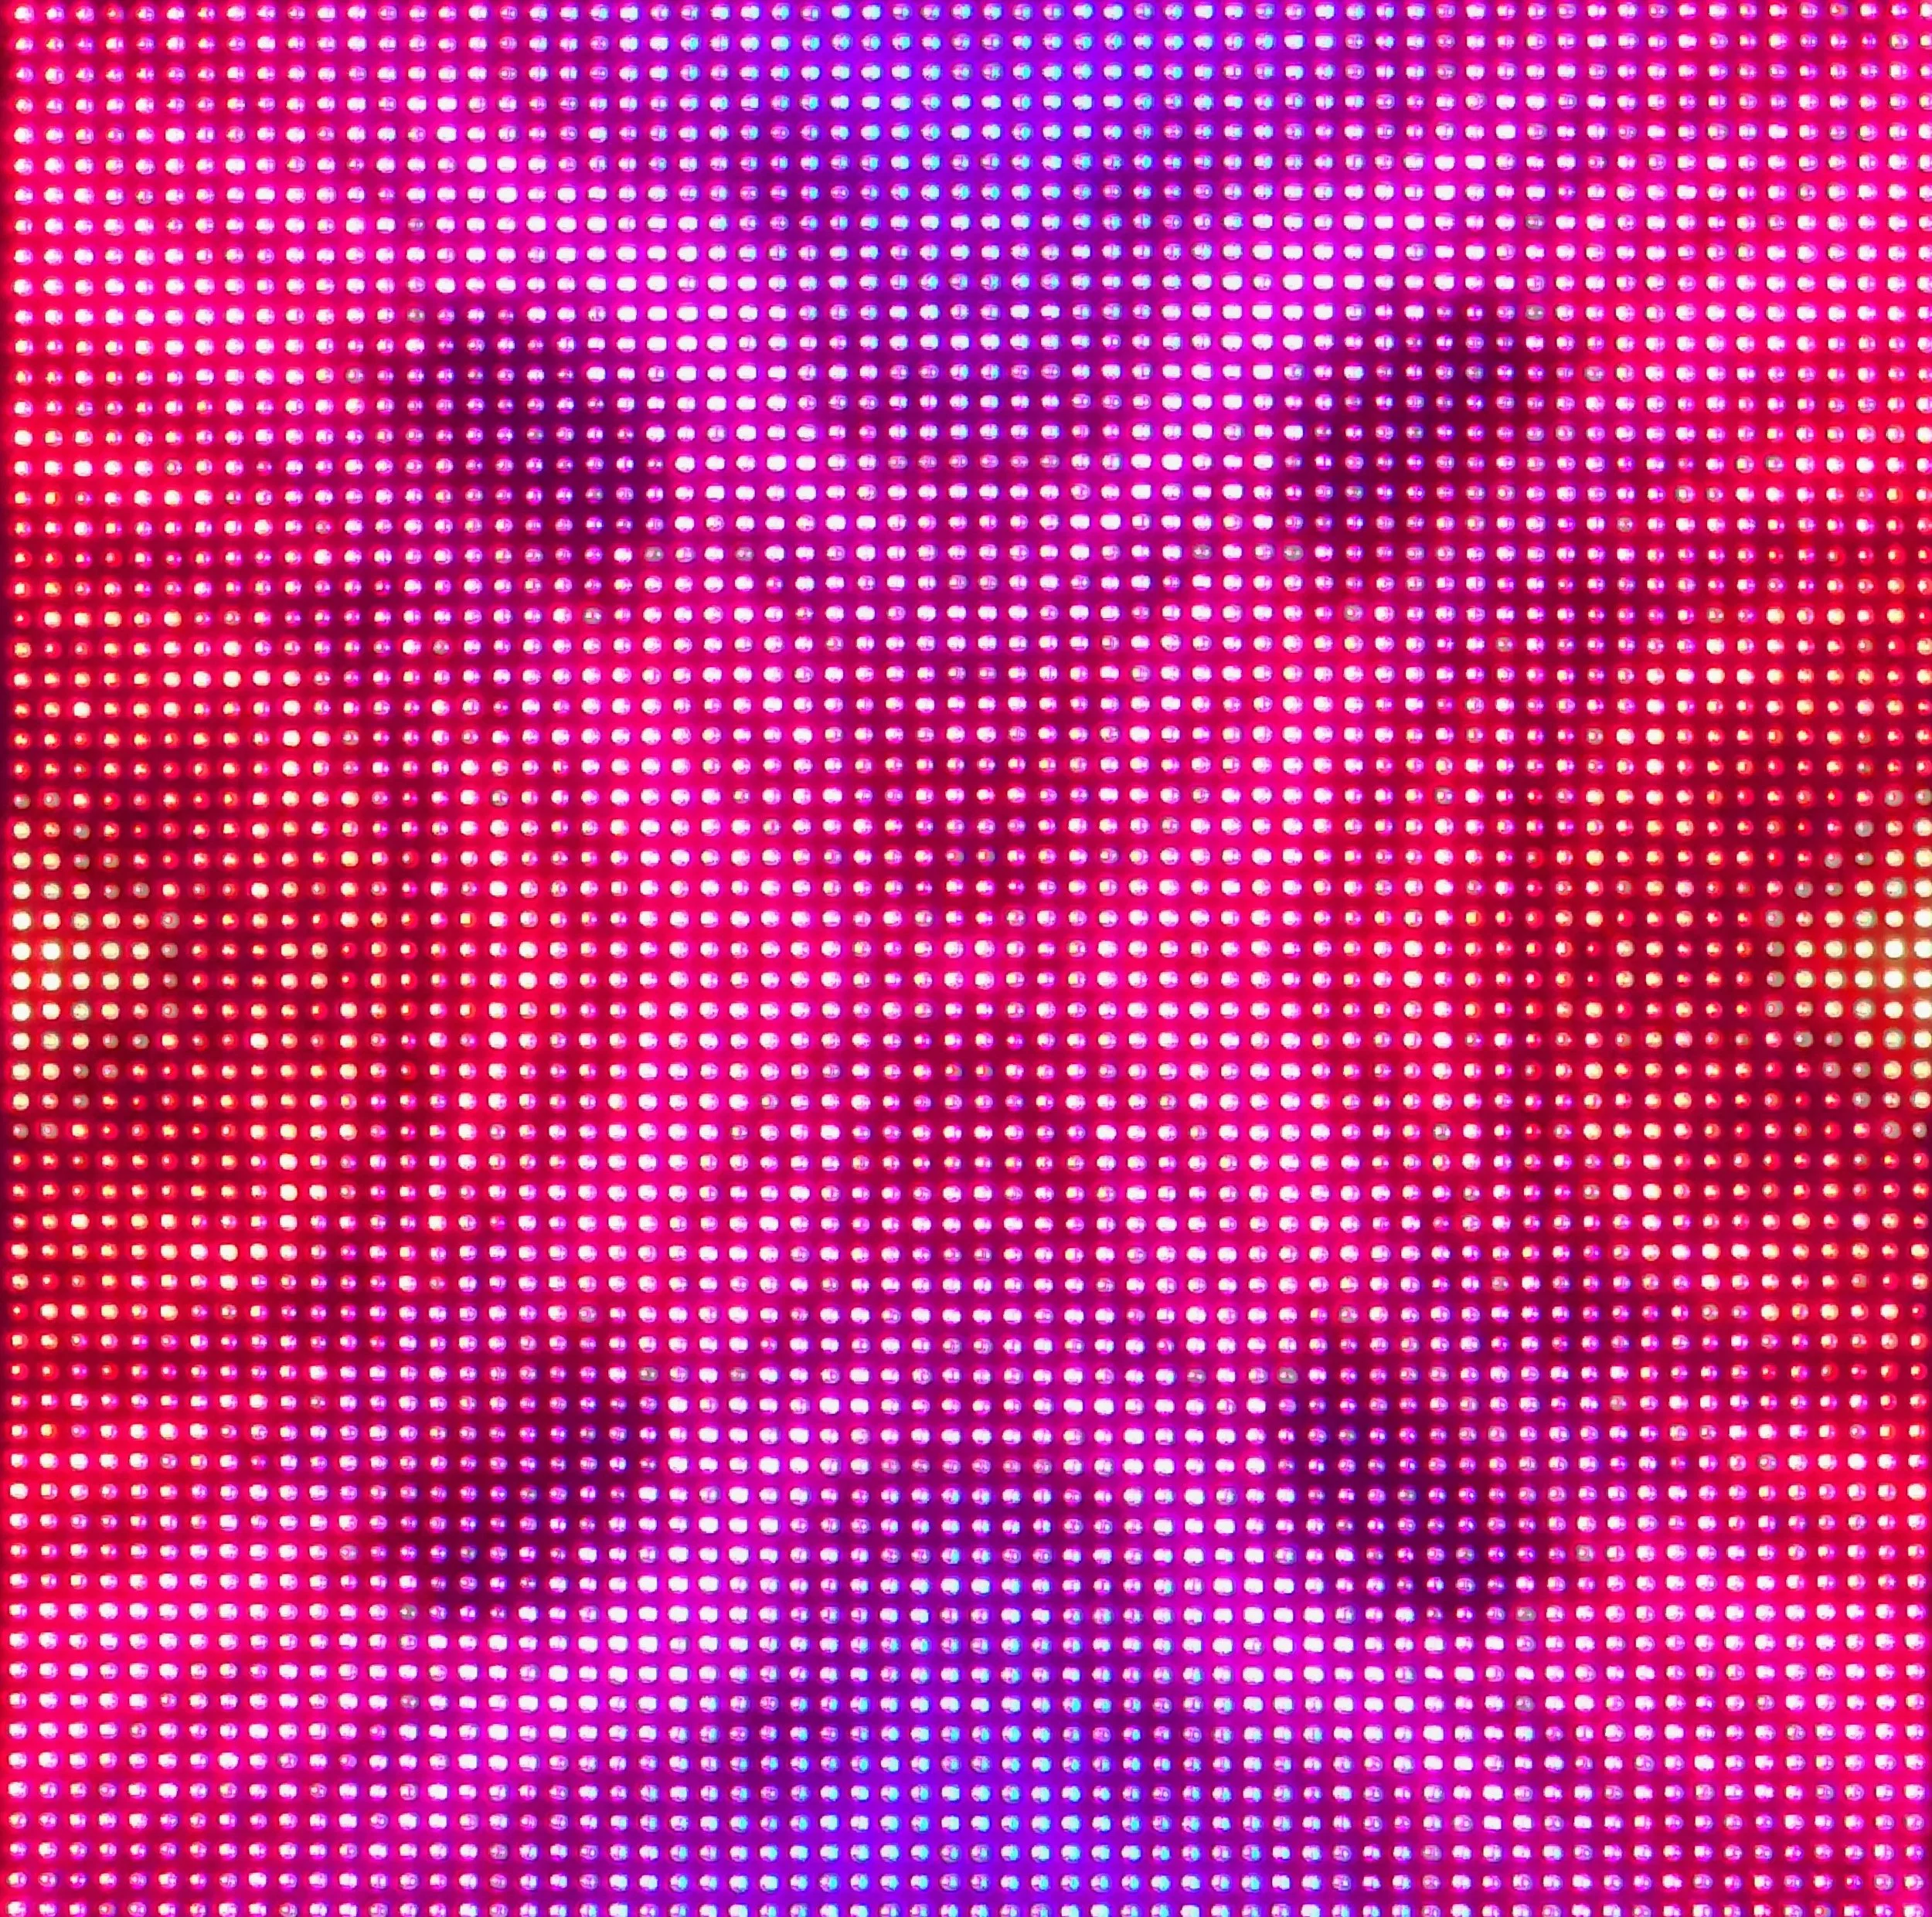
Pitch: Pixel spacing ranges from a 3 mm pitch to a 10 mm pitch with common sizes of 4 an 5 mm. The smaller the pitch, the smoother and more intense the image. The larger the pitch, the larger the overall image size. With the current limit on pixel count at just under 25k, I like the 5 mm pitch.
Size: The overall size of the matrix (in terms of pixels) has a huge impact on the amount of detail and nuance within a piece. The code that drives each element involves the matrix size in the calculus. Larger matrix pieces allow room for the element to more fully develop.
Aspect ratio: The matrix aspect ratio also plays a significant role. My code uses the aspect ratio as a part of drawing each element. An aspect ratio of 3 to 2 (128 by 192 for example) has a different impact vs. one o 5 to 4 (128 by 160) or 1 to 1 ( 128 by 128) .
The code is the art:
The code behind my work has grown from a few hundred lines in my first matrix design to well over 10,000 in current versions. I am always refining the elements and creating new ones. The volume of possible elements is well over 200 thus far and growing. Some of my elements have been published as part of a library for others to use to make similar projects. My creative process involves involves considerable curation of the elements. Given the inherent chaos that drives them, I exercise each one 100s of times, pushing for results that maximize variability while staying true to the vision for that element .
I have divided my current matrix work into 4 broad categories for the current show.
Audio: These patterns are designed to use music as an input to the element creation process. In this, a 2nd arduino brain is used to “listen” to the music and run math to identify the content in terms of frequency. This math is known as a Fast Fourier Transform (FFT). This is fairly complicated math and thus the 2nd processor is dedicated to the task. The primary brain asks the 2nd aruino for this information and uses it to paint the sound. In the absence of an audio signal, the primary brain uses internally generated “fake” music to paint.
Organic: Elements here have a softer, more ethereal appearance. This is not an easy task with images created via software. I am very proud of my work in this area.
Linear: Elements here have a crisper more defined look. Some of these play with the interactions between colors vial layered transparent components.
Mixed: highlights of all of the above.
Over the years I have employed/ developed several techniques based on the FAST LED arduino library. See if you can spot the following in use…..
Fading:
Fade to black: This basic technique is used heavily. Between rendered frames, I reduce the brightness of the prior image a bit and then draw the next image. If there is movement, and there often is, this gives a fuzzy training edge effect.
Color biased fades: similar to fade to black but these reduce 2 or 3 of the primary colors (for example red) while allowing the others to linger. This gives a nice variant on fade to black. This is my own innovation.
Fade to white: This is a newer development. White was generally avoided as it caused the most power to be drawn by the LEDs, particularly the ones I used early in my work. Now that I have adopted the higher resolution panel type of leds, white as a background is less of a challenge from a power perspective. Thus, a new fade type that adds rather than subtracts. This is also my own innovation.
Methods for drawing sprites:
Direct:
This approach uses the basic tools that allow one to draw a sprite on the matrix. One can set the location, dimensions, and shape (dot, line, rectangle, filled rectangle, circle, or filled circle). These commands allow you to set the color via hue, saturation and brightness. With direct drawing, whatever was there precisely is replaced with this new color.
Additive:
Rather than replace the prior color, this approach adds additional color to that pixel. The 3 LEDs within a pixel are brightened by the content of the addition, saturating at full brightness. Adding more red to a red pixel may brighten the red but will not change the color. Adding blue to a red pixel will turn it purple. This approach allows for transparent layering of elements with the resultant color being that of the combination. This method, when combined with some fading techniques described above allows for some ethereal or feathered edge results. Combine enough colors an you get white. red + blue = purple, red + red = red
Subtractive elements:
Similar to the additive method but the new layer is subtracted from the prior. So, the opposite of additive. Red - red = black. Yellow = red = green. Subtract enough elements and the results will be a black pixel. This method allows for interesting transparent layering when used with a white background. white - blue = yellow
Other methods:
Wind:
Wind works by shifting all the pixels in the prior frame in one or more directions prior to fading and rendering the next frame. This when combined with a fade is an excellent way to add texture. In some cases the wind blows in more than one direction or changes direction periodically.
Mirroring:
In this, one part of the screen is duplicated in another part of the screen. This brings symmetry to some designs.
Speed:
In some elements, the speed of motion or rate of color change will change over time, adding another dimension to the element.
Drift:
The element may be allowed to drift along one or both axles.
Layering:
Drawing more than one element at the same time. This allows some interesting layered results.
Backgrounds:
Laying down a background before drawing the element. This negates wind and fade as the prior image is irradiated by this approach. ( thus, seldom used)
Effect:
Adding a transient sprite to an element periodically. For example, an expanding ring of color, or a rain of dots and drops.